Planning for reflections for highly efficient VFX
So this is about using additional “reflection takes” from a shoot to greatly aid in a composite.
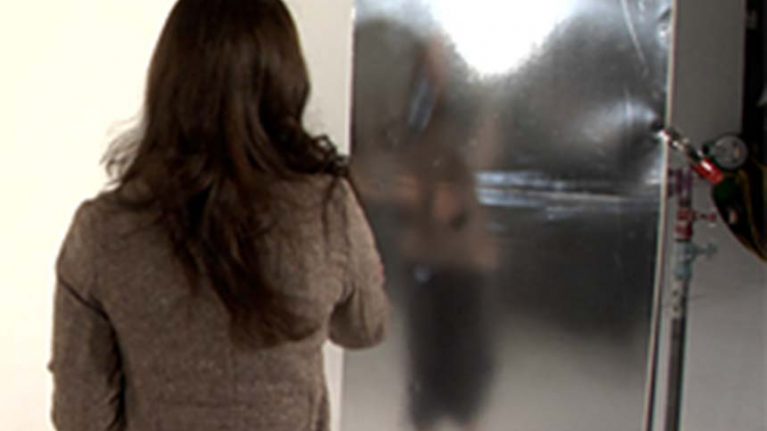
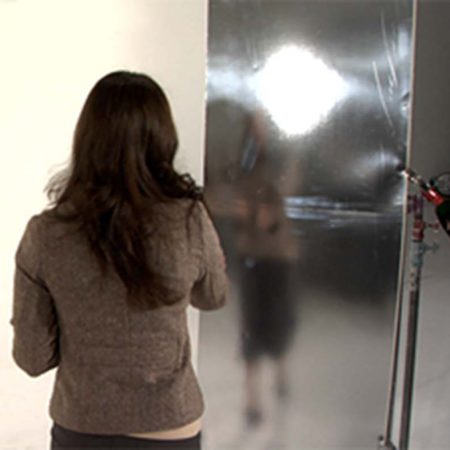
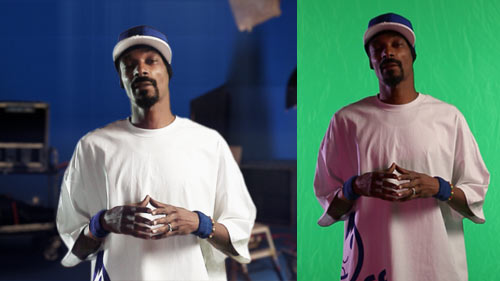
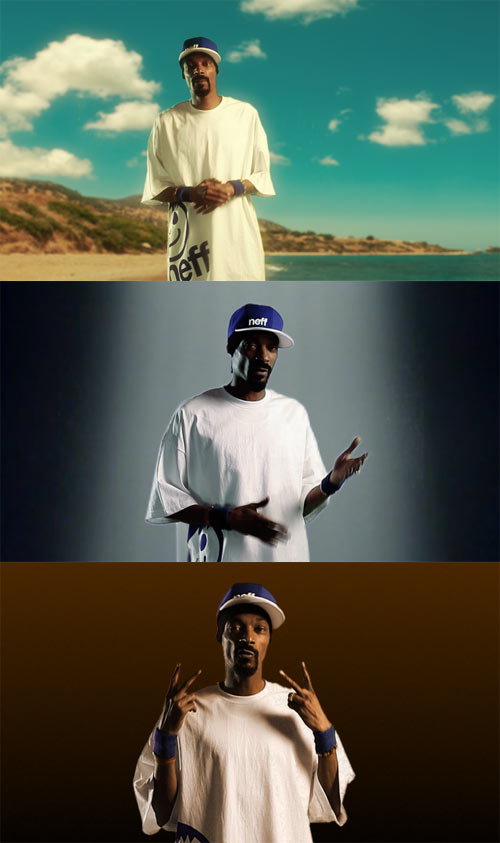
Here’s a scenario: you shoot an actor on greenscreen that, in the final composite, will be walking past a wall made of brushed aluminum, or polished granite, or even dark plastic. You should shoot an additional take with a mirrored panel reflecting the actor mimicking the “real” take, but with blocking altered to ensure the actor never overlaps the reflection (since this will give much more leeway for manipulation in post). Then it’s relatively quick and painless to composite the reflection onto the wall or whatever, better melting the elements together visually while also giving an organic look to CGI objects without spending eleventeen thousand hours on shaders and rendering in 3D software.
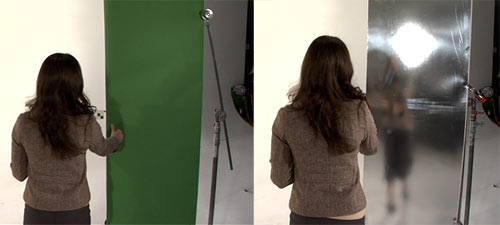
Here’s some more specific guidelines…
- Plan for objects that have less than perfectly crisp reflections. This is because your “reflection take” will likely not perfectly match the real take of the actor’s performance… not to mention that your reflection panel probably wasn’t a high quality mirror to begin with.
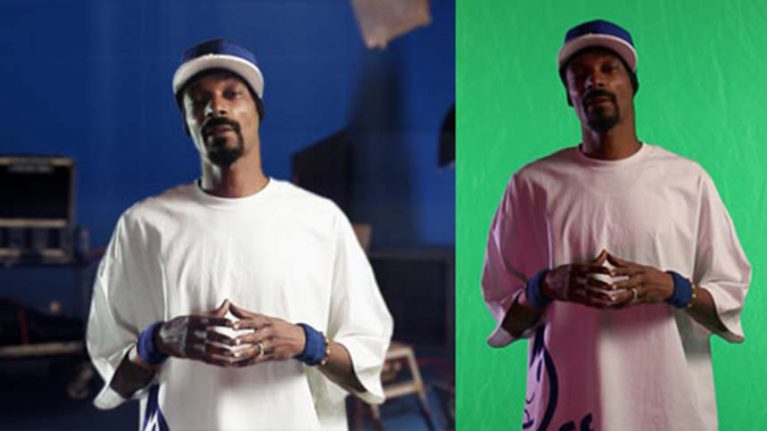
- Shoot the actor’s performance on greenscreen like normal, with no reflection panel (thus allowing for a simple composite without having to roto out the panel).
- Then set up a mirror or shiny board where the reflective object will be in the composite. Reblock the actor doing their performance so that you get an unobscured shot of the reflection. This will likely require some spatial cheating, but whatevs. It’ll help when compositing if the background in the reflection is either greenscreen or black (duh), but this usually isn’t super essential. I’d suggest having the actor watch the “good” take a few times so they can study & mimic their movements and timing.
- In composite, finalize the actor’s position and timing into the shot. Then throw in the reflection take and tweak it to match the reflective properties of the particular surface. You’ll likely be using “Add” or “Overlay” composite modes. Btw, you should be working in linear blend mode whenever you’re doing photoreal-ish compositing or using motion blur (if using After Effects via the “Blend Colors Using 1.0 Gamma” checkbox under File > Project Settings).
- Geometric mega-accuracy of the reflection’s placement and angle aren’t nearly as important in selling the shot as having the kinetic properties of the reflection match the actor… meaning that the timing of an arm swing or head turn need to be pretty close, so bust out the retiming/speed change plugin/tool if it doesn’t.
Back in ye olde 2007, this technique really saved my skin when a project I was directing/DP/compositing became logistically stressed with revisions when the signoff process grew more complicated than anyone expected. Nobody’s fault, just the nature of the beast. To put it lightly, we found ourselves in a super crunch, both in terms of time and budget. If any students are reading this, note that this kinda stuff happens all the time and probably the primary difference between a professional and amateur is that the pro is able to not bother dwelling on obstacles and just focus on figuring out a way to deal with it as best as possible within the limitations, without ripping their own hair out and going insano. Then, theoretically, you eventually matriculate to projects with big juicy budgets and long healthy schedules that are super fun with lots of creative latitude. I’ll let you know when I ever hear of one of those. The clients who give those out must hang out with Santa Claus and ride unicorns or something.
Anyways, we had to reassess a sequence that contained a CGI refrigerator. It originally was going to animate into existence in a fancy way that can only be done in 3D software, and the shot was to be 3D matchmoved. But due to aforementioned schedule/budget factors, we were hard-pressed just to get the shot done with the fridge static, un-animated. Because of the “reflection take” I was able to use just a still image render of the fridge and make the shot look “good enough”. This saved us several hours, since it nixed having to matchmove as well as eliminate the render time for the fridge. Here’s a lil’ video clip showing a breakdown where you can see how big of a difference the reflection take makes…
Is it optically accurate? Not at all. But it “feels” right to the average viewer. Is it invisible realism? Nope. But it sells the shot with a minimum amount of time and resources.

